Karsten Held, Samuel Gross, 20.01.2022
1) Download
- Download the zipped web part package file url-shortener-and-redirector-webpart.sppkg from GitHub: Latest release/ All releases
- Unzip the SPPKG file. Do not rename this file. The filename has to match the package name.
2) Deployment to the global app catalog
A) Go to your App Catalog site
- Check if you have an App Catalog site by navigating to it. If you don’t know the URL of your App Catalog site, follow one of these steps:
Option a) Use this link:
https://[YOUR_TENANT]-admin.sharepoint.com/_layouts/15/online/AdminHome.aspx#/siteManagement/view/ALL%20SITESOption b) Navigate to the SharePoint company App Catalog:
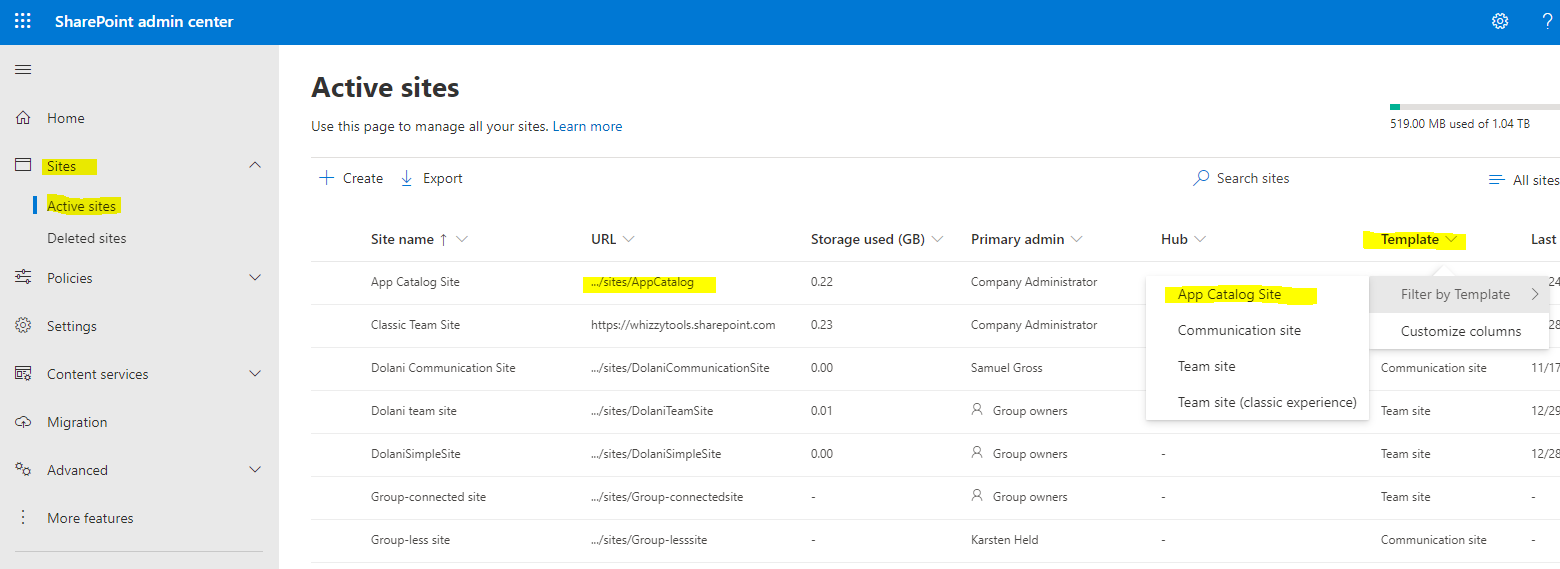
- Go to the Microsoft 365 admin center > Show all > SharePoint > Sites > Active sites
- In the “Template” column, filter by “App Catalog Site” and click on the App Catalog Site URL.
- If you don’t have an App Catalog, make sure to create one first under point B). Else, go to point C).
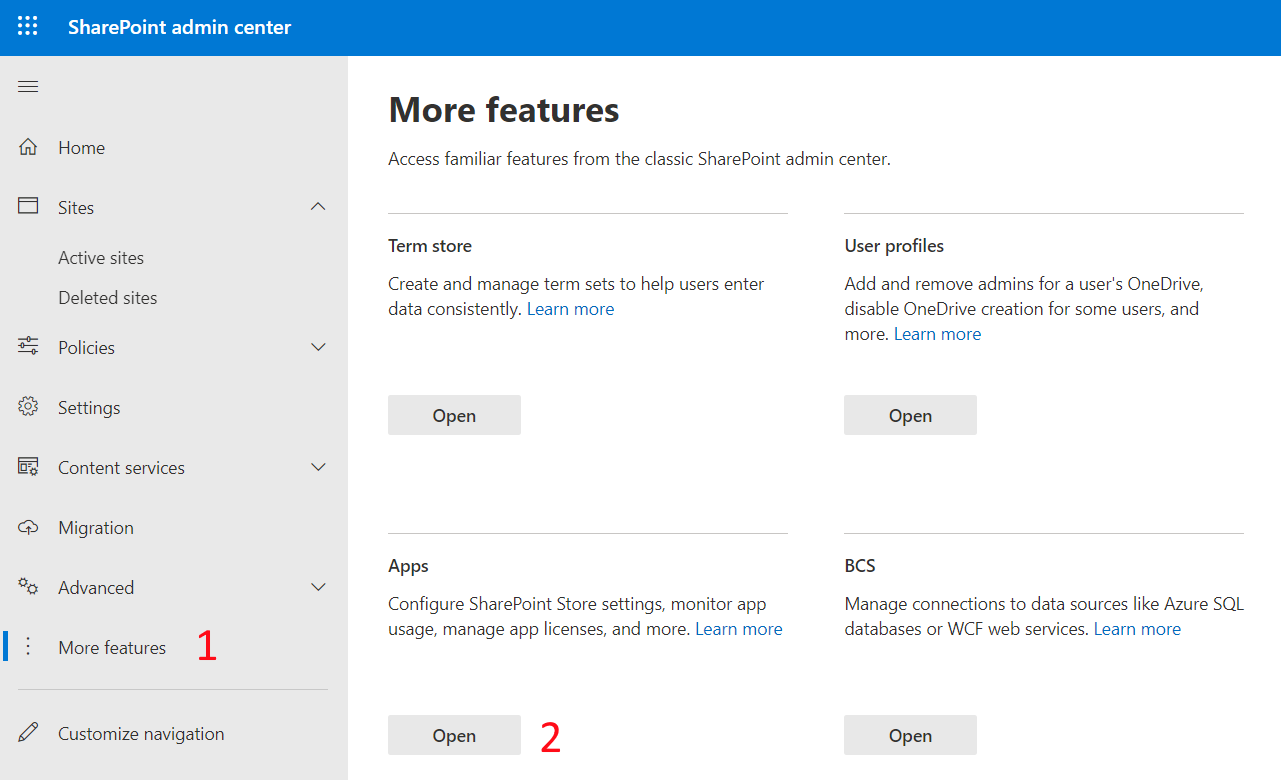
B) Create an App Catalog site - optional
- In the SharePoint admin center, navigate through More features > Apps > open
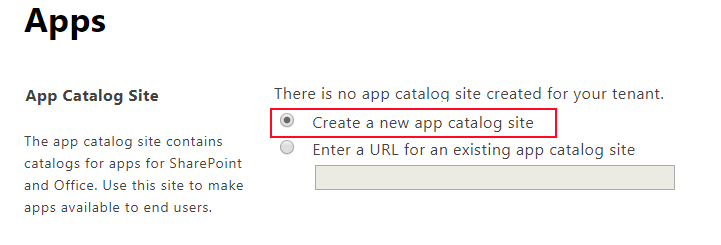
- Go to App Catalog:

- Create a new app catalog site > OK:
- On the next site, fill out the data > OK
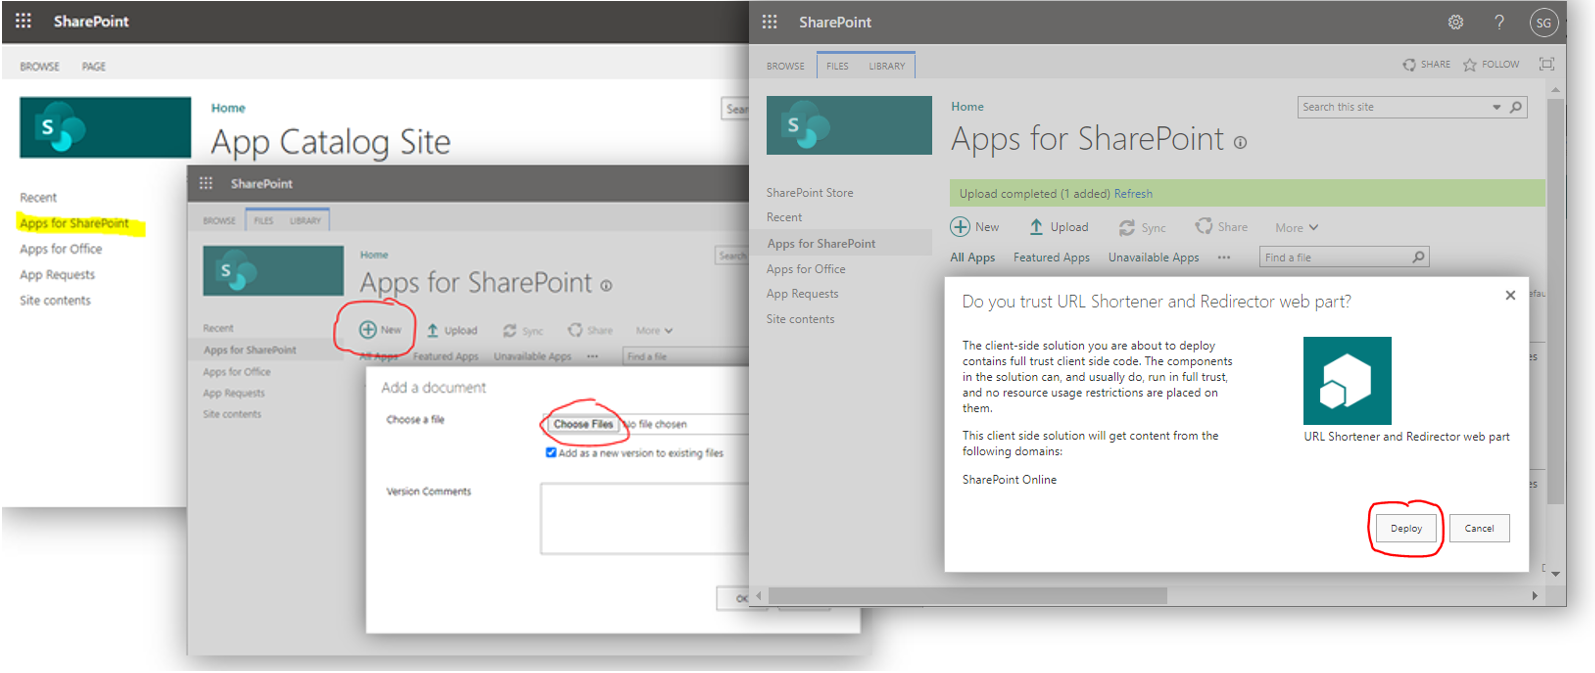
C) Deploy the webpart to the global app catalog
- In the App Catalog Site click on “Apps for SharePoint” > New > Choose Files > select the downloaded url-shortener-and-redirector-webpart.sppkg file > OK > then click “Deploy”.
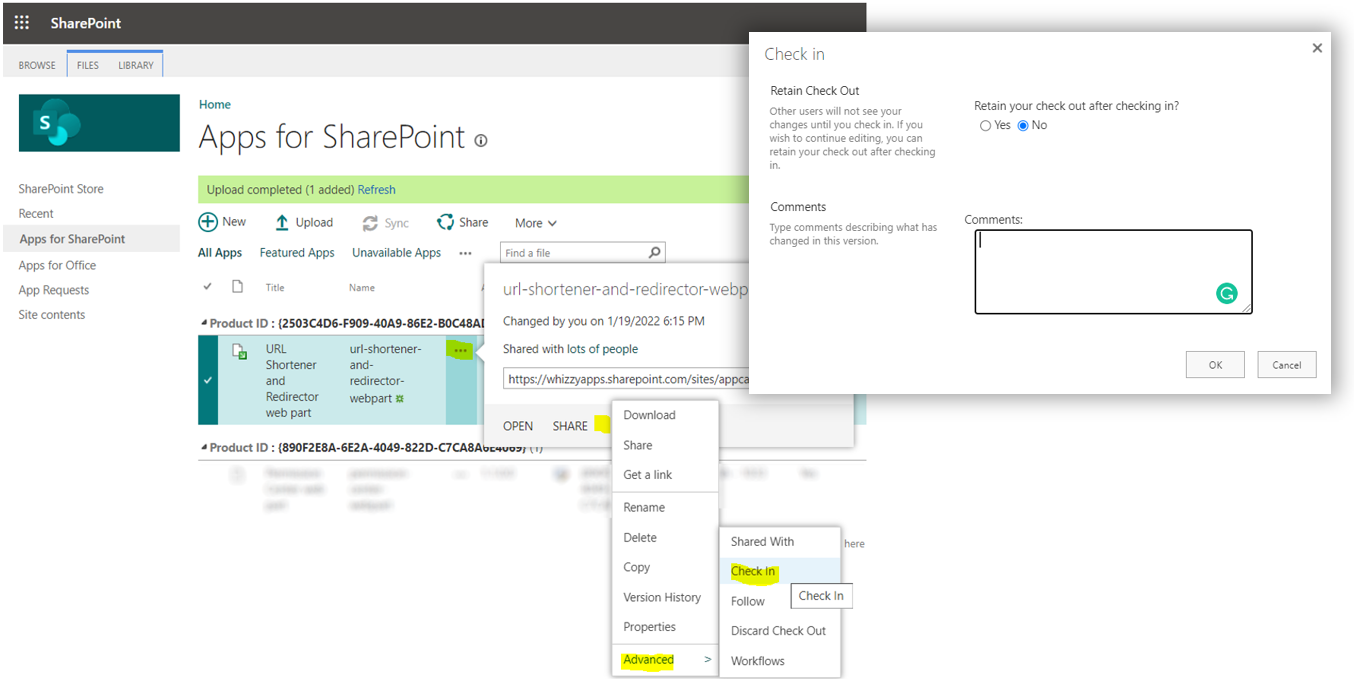
- After the deployment, make sure the file is checked in. If you see an icon with a small green arrow you need to manually check the file in: Click the ellipsis (…) icon of the file > … > Advanced > Check In > OK
3) Deployment to a site collection app catalog
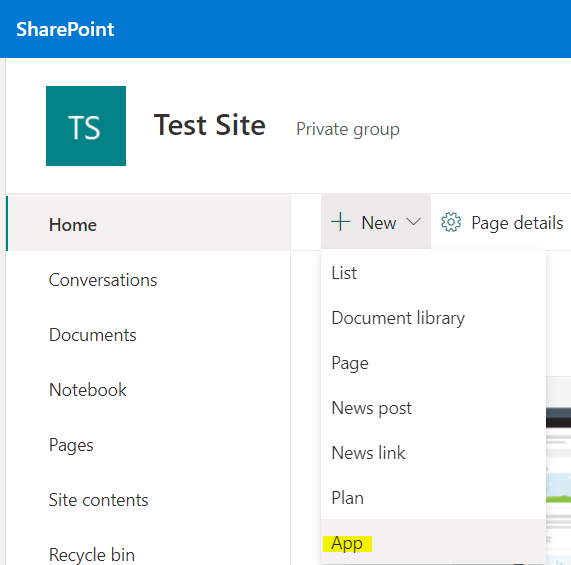
- Navigate to the site collection you want to deploy the web part. Click on New > App
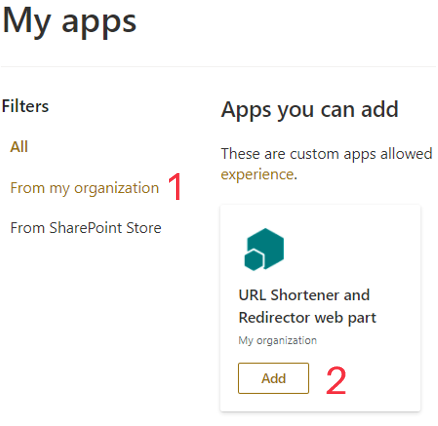
- Go to “From Your Organization” > Add “URL Shortener and Redirector web part”.
4) Add webpart to your site
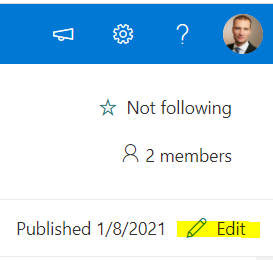
- On your site, in the upper right corner, click on “Edit”.
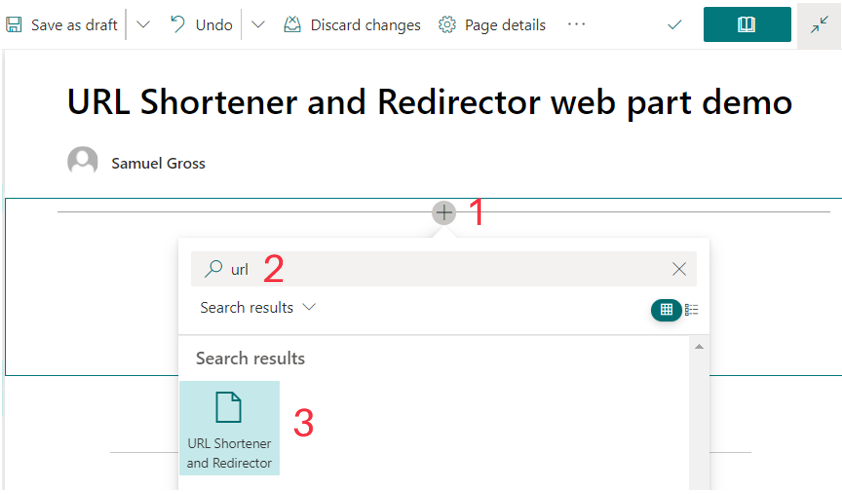
- Click on the “plus” in the section where you want to place the web part.
- Type “url” and click on the icon of the “URL Shortener and Redirector”.
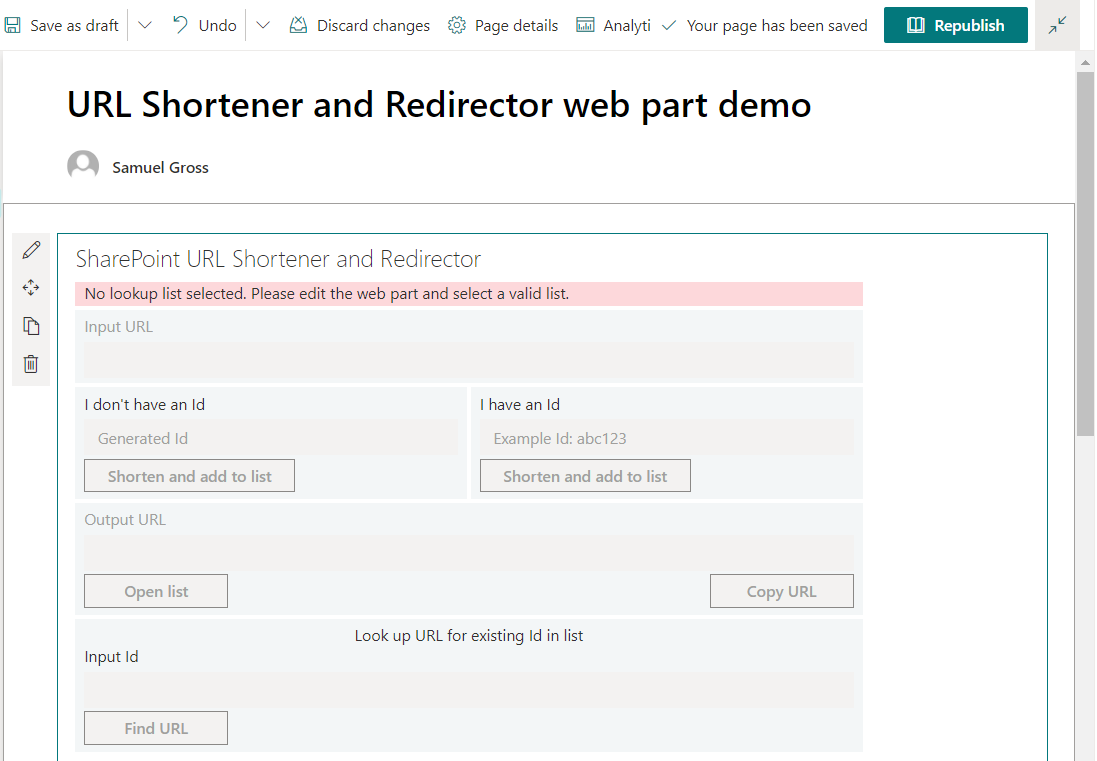
- The web part will appear with disabled fields, because we need to set a lookup list first.
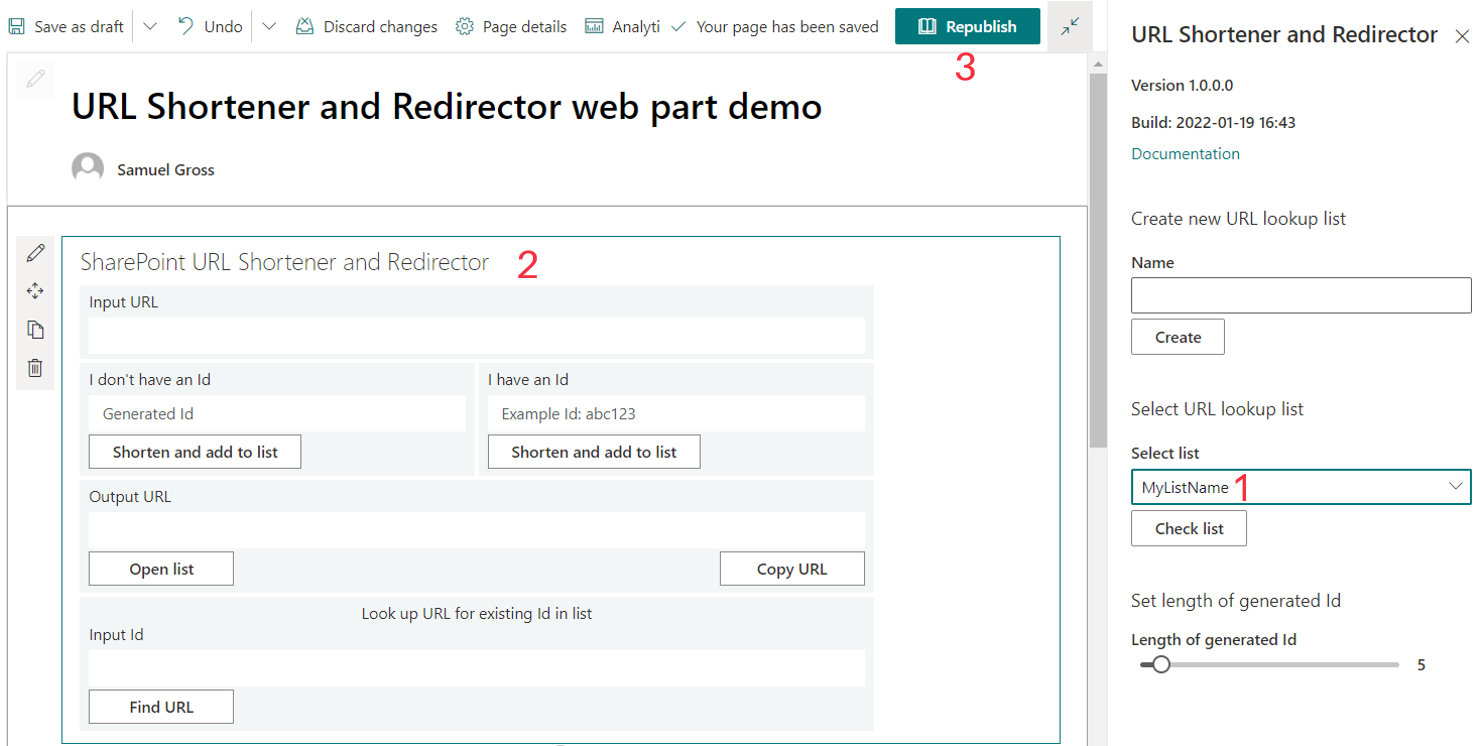
5) Create and set lookup list
On first deployment, you need to create and set a lookup list.
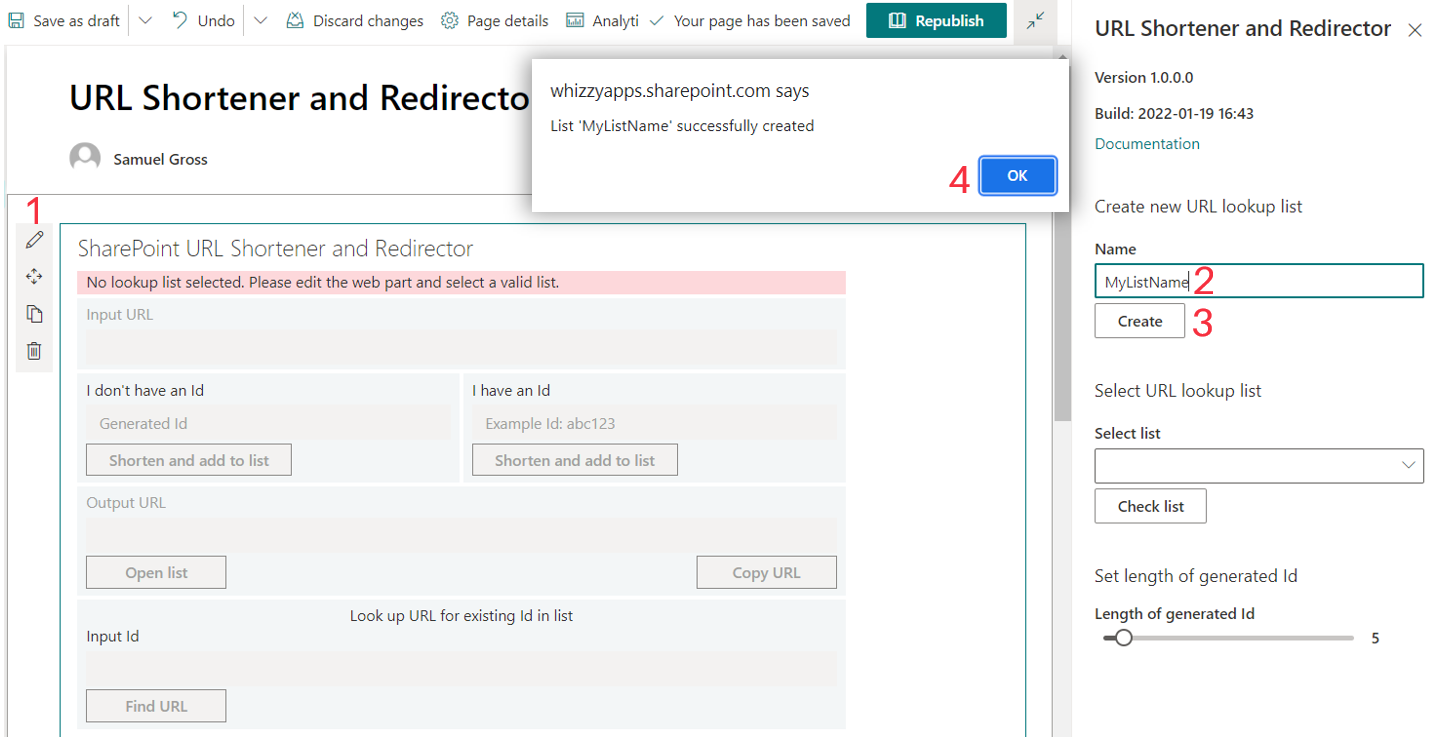
- Click “Edit” to edit web part properties. The “Property pane” will appear to the right.
- To create a new list, enter the desired name.
- Click “Create”.
- A message appears that the list was created successfully. Click “OK”.
Set the lookup list:
- Select the list from the dropdown menu
- The web part is now ready to be used.
- Click “Republish”.